Followers

Sunday, September 2, 2012


Storage Basket Tutorial

Using Windham Butterfly Swirl


Windham Butterfly Swirl Fabric

 
Cut out 2 outer fabric and 2 inner fabric pieces 11” by 15” for the basket parts, and 2 outer fabric and 2 inner fabric pieces 2 ½” by 10” for the handles..
 
I used Pellon 987 medium weight fusible fleece on all 4 basket pieces and 2 of the handle pieces.
 
 
Ironing on the fusible fleece to the lining handle pieces
 
 
Iron on the interfacing to all 4 basket pieces and then turn under ½” at the top of each piece and press.
 
This shows all 4 pieces turned under and pressed.
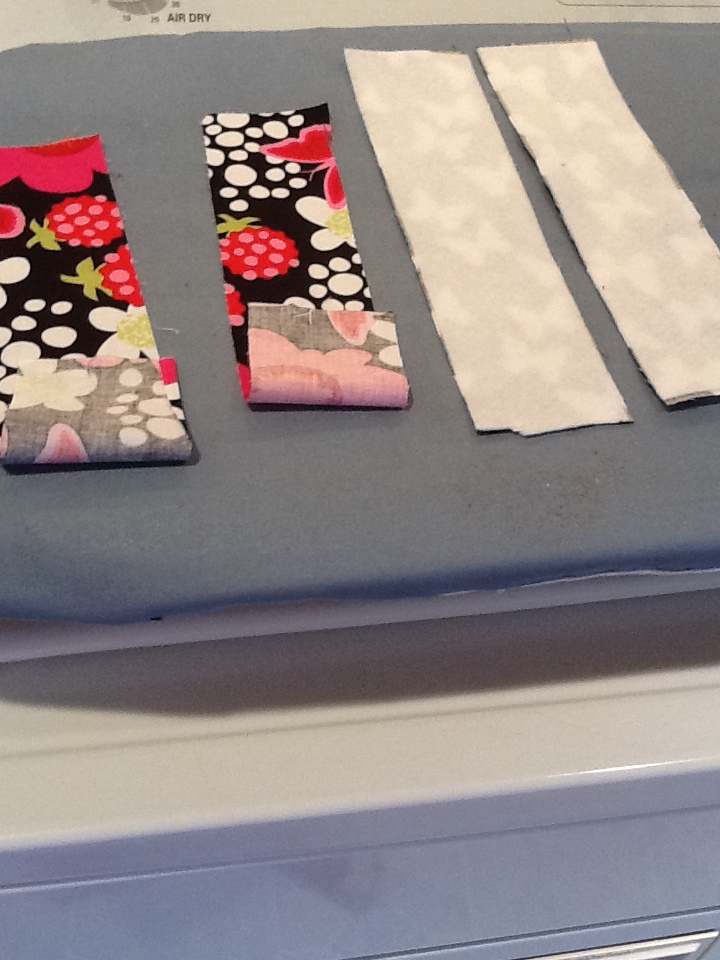
The interfacing is on 2 handle pieces ONLY
 
2 different handle pieces RST to sew
 
Sew down both long sides back stitching at each end. Do not sew across the short ends. Do this for both handles.
 
 
Turn the handles using a chop stick or the eraser end of a pencil to push on the interfacing side where you get more traction. Press.
 
Lay the rick rack on the underside of the lining pieces where it is turned under. Turn down the ends of the rick rack to leave about a 1” area without the rick rack. Turn the ends down and use the Lapel glue stick to glue the ends down out of the way. This is to keep t he side seams from being too bulks and causing broken needles.  Pin  Pin  Pin

Starting at the end with your presser foot resting up against the edge of the fabric, sew along the rick rack on both pieces.
Put the lining pieces together RST and pin in place. Using about a ¾” seam, back stitching on all seams, sew down both side seams and across the bottom.

Bring the corners into a point and flatten out with the seams on top and underneath aligned. Draw a line across 3” from the point.  Pin in place and sew across the line- back stitching starting and stopping.
 
Sew on the line. Do this on both basket pieces and cut off the points about 1" from the lines you sewed.


Both pieces finished and read for the handles to be attached.


From the side seam of the lining part, measure over each way 1” and mark. Measure down 1 ½” and mark. Pin your handles and sew hem from the right side of the fabric.

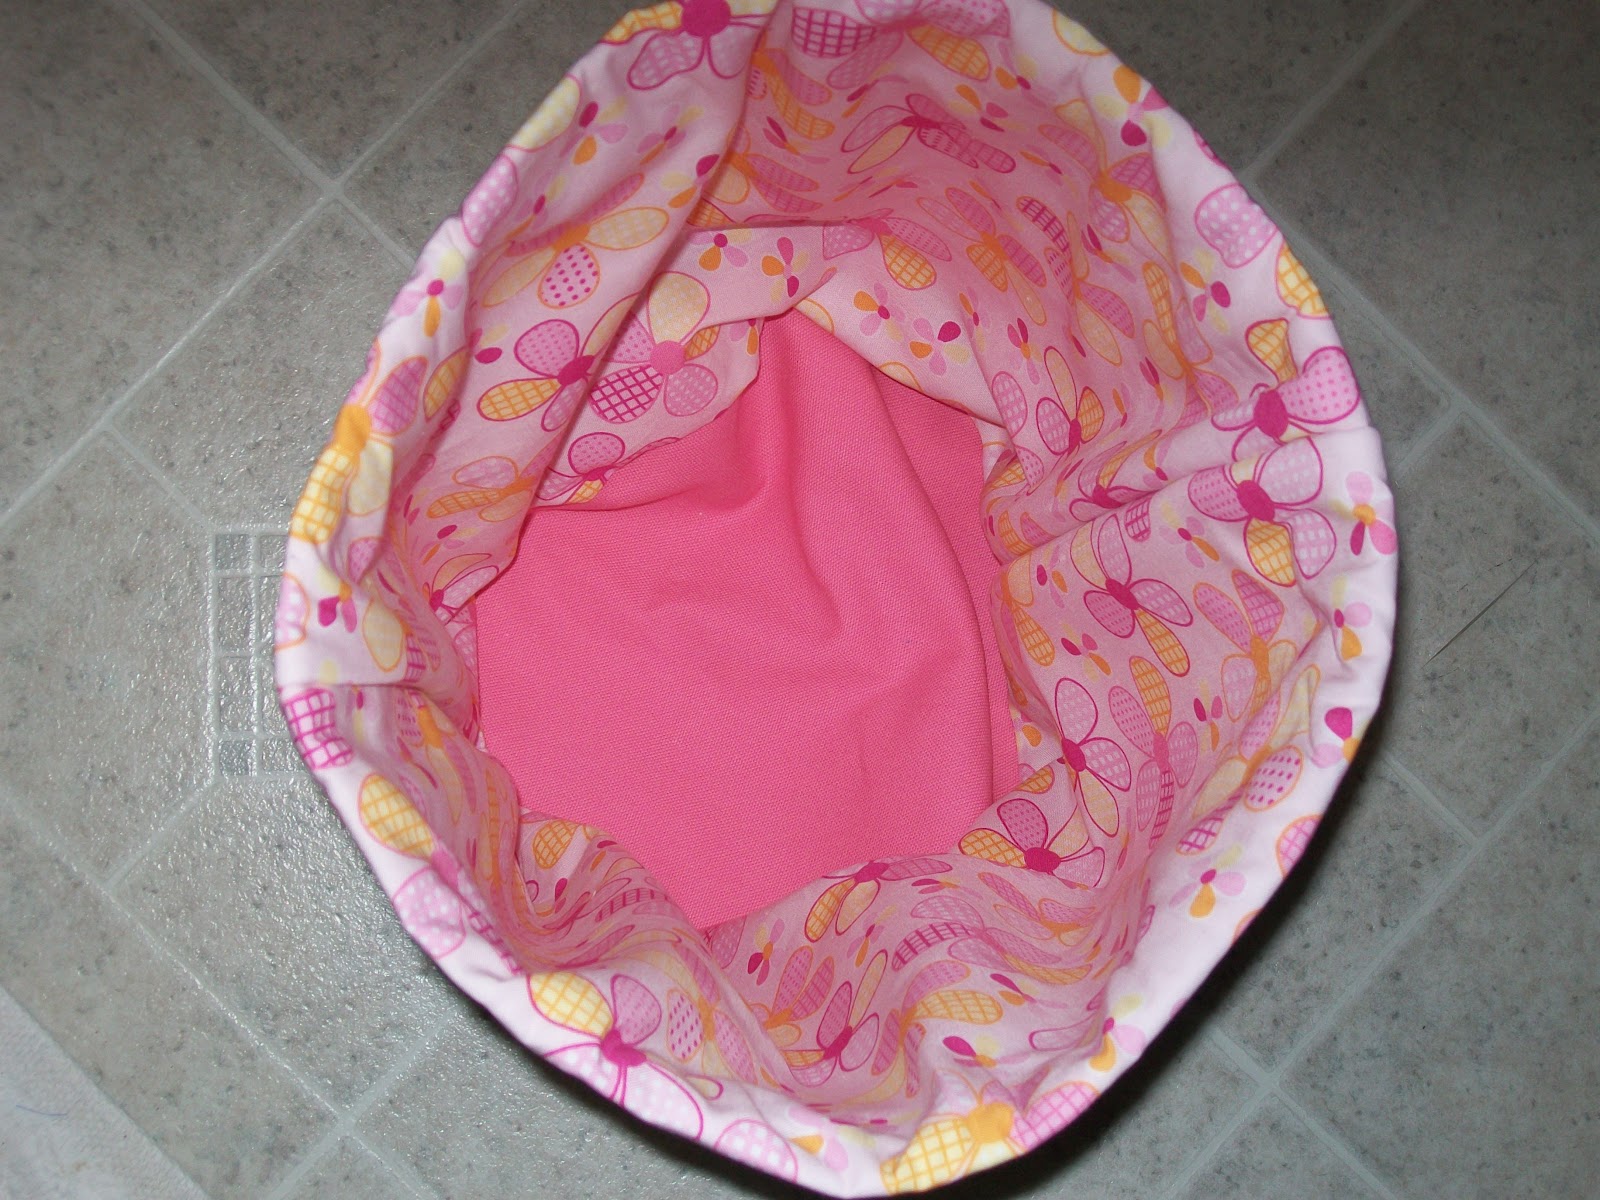
Now the handles are attached and both parts are all finished. Place the lining inside the outer part and match the side seams. Lay the seams flat to avoid bulk and pin. Slowly sew around the outside of the basket with your presser foot resting against the edge of the fabric.


FINISHED!!!!!!!!!!!!!!!!!!!!

 
Thanks for looking at my tutorial and if  you have any questions, email me
bbcarter@zoominternet.net.
Happy Sewing
Barbara

Sunday, August 26, 2012

Denim Storage Container


This is the one I mentioned we keep our bread in on the kitchen counter.


My New Project! Fabric Storage baskets


I love things in containers and not strewn all over the counters or dresser tops or bathroom, etc. Last year I made a denim container using Jen Giddens free tutorial and we use it to keep our bread in on the counter. It holds 3 loaves of bread standing end for end. It is adorable. I am fairly sure I posted a pic of it.

I was browsing through the free projects at sew4some.com and found some baskets and decided to make one. I made the read and blue one I posted and decided it could be made alittle easier. I like easy.
For it I had used the sew in craft type interfacing from Therm o Web which I love. I forgot that I was supposed to turn the edges under and iron it and when I got to that step I realized it was too thick to work. So, I added a strip of fabric along the top to turn under and it worked out ok. Then when I added the rick rack to the lining, it was alittle redious going around the circle so I decided next time I would not do it that way.

Anyway, by the time I finished the first one I had completely changed the pattern. LOL

When I made the second one, I used Therm o Web fusible fleece on both inner and outer and it worked wonderful.

I also sewed the rick rack on the lining before I sewed the lining together.
That was a mistake, which I later fixed.

Anyway I am going to make another one and take pictures of the steps for those of you who are interested in making one.

Saturday, August 25, 2012

Side View


Side View
Originally uploaded by sewspurses
If anybody wants to know where the tutorial is let me know.

new bag I made with Moda Vintage Modern

I just love this fabric and had to make something. I got this tutorial from friend toby who found it on google. She is a Private I.
It has tons of pockets and inside pockets have elastic. I think it is really a baby bag.

salad I made for dinner


salad I made for dinner
Originally uploaded by sewspurses

Quilt #5 with matching baby bag


Quilt #4


Quilt #4
Originally uploaded by sewspurses

Quilt #4 for Appalachian Outreach


Tri color tomato


Tri color tomato
Originally uploaded by sewspurses

Storage basket sew4home.com


Storage basket
Originally uploaded by sewspurses
I found this tutorial at sew4home.com and made this basket. i just love their site and their tutorials are the BEST.
Great directions and tons of pictures.
I put this in the kitchen beside my coffee pot and put my creamer and fiber powder in it,

My friend Stephanie the Retina doc

This was taken at her office when she received the quilt. She loved it.