
Storage Basket Tutorial
Using Windham


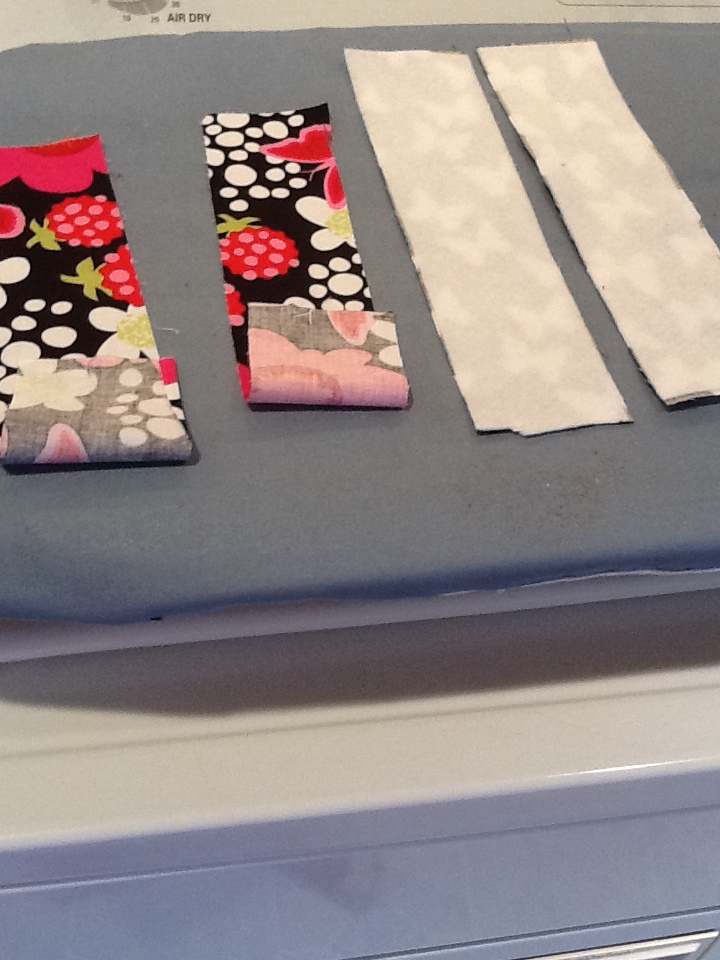
Cut out 2 outer fabric and 2 inner fabric
pieces 11” by 15” for the basket parts, and 2 outer fabric and 2 inner fabric
pieces 2 ½” by 10” for the handles..

I used Pellon 987 medium weight fusible
fleece on all 4 basket pieces and 2 of the handle pieces.

Ironing on the fusible
fleece to the lining handle pieces

Iron on the interfacing to all 4 basket
pieces and then turn under ½” at the top of each piece and press.

This shows all 4 pieces turned under and
pressed.
The interfacing is on 2 handle pieces ONLY

2 different handle pieces RST to sew

Sew down both long sides back stitching at
each end. Do not sew across the short ends. Do this for both handles.

Turn the handles using a chop stick or the
eraser end of a pencil to push on the interfacing side where you get more
traction. Press.


Lay the rick rack on the underside of the
lining pieces where it is turned under. Turn down the ends of the rick rack to
leave about a 1” area without the rick rack. Turn the ends down and use the
Lapel glue stick to glue the ends down out of the way. This is to keep t he
side seams from being too bulks and causing broken needles. Pin Pin
Pin


Starting at the end with your presser foot
resting up against the edge of the fabric, sew along the rick rack on both
pieces.

Put the lining pieces together RST and pin
in place. Using about a ¾” seam, back stitching on all seams, sew down both
side seams and across the bottom.

Bring the corners into a point and flatten
out with the seams on top and underneath aligned. Draw a line across 3” from
the point. Pin in place and sew across
the line- back stitching starting and stopping.


Sew on the line. Do this on both basket pieces and cut off the points about 1" from the lines you sewed.


Both pieces finished and read for the
handles to be attached.


From the side seam of the lining part,
measure over each way 1” and mark. Measure down 1 ½” and mark. Pin your handles
and sew hem from the right side of the fabric.


Now the handles are attached and both parts
are all finished. Place the lining inside the outer part and match the side
seams. Lay the seams flat to avoid bulk and pin. Slowly sew around the outside
of the basket with your presser foot resting against the edge of the fabric.


FINISHED!!!!!!!!!!!!!!!!!!!!

bbcarter@zoominternet.net.
Happy Sewing
Barbara
Thanks so much for this tutorial Barbara, I can't wait to give it a try.
ReplyDeleteMia, thanks for the kind words. Coming from you that means a lot. You one of the best.
DeleteHi Barbara, your basket is beautiful!! The tutorial that you did, is perfect, the photos you've added with all the steps are excellent. I love the shape of this basket, now I have to make a basket like yours. Thanks for sharing your tutorial with us!
ReplyDeleteMarisa.
Oh dear friend thank you for the encouragement and sweet comments. I am always inspired by everything you do and makes me want to try harder.
ReplyDeleteYou've been featured on my storage basket tutorials post :) http://baileymarieandme.wordpress.com/2013/07/22/storage-basket-tutorials/
ReplyDelete<3 craft love! Keep it up
Bailey
this turned out great
ReplyDelete